From new account to first booking, in 3 steps
No installation, no complicated setup. Start today and take bookings tomorrow.
What setting up online booking actually involves
The honest answer is under half an hour, and most of it is one step. Creating the account and the public page takes a couple of minutes. Sharing the link takes seconds. The part that deserves real attention is the middle one, entering your services with their true durations and marking the hours you genuinely work, because that is what the calendar uses to protect you from double bookings later.
There is nothing to install, nothing to configure on a server, and no migration to plan. If you already keep a client list somewhere, you can import it and start with the history you have. If you do not, you lose nothing by starting empty, since every booking from here on builds the file on its own.
Create your account & profile
Sign up in 2 minutes. Add your name, category and a photo, and just like that you have a professional storefront online.
Signing up needs an email and nothing else, no card and no call with a salesperson. You add your name, what you do and a photo, and the public page exists from that moment, at a link you can already send. Everything else on the profile, portfolio, team, opening hours, can be filled in later between clients. Most people are done with this step before their coffee gets cold.
Set your services & availability
Add your services with duration and price, then tick the days and hours you work. Do it once and you're ready.
This is the step that decides how well everything else works, and it is worth twenty unhurried minutes. For each service you set a name, a duration and a price, and the duration is what stops the calendar from booking a cut on top of a two-hour colour. Then you tick the days and hours you actually work, plus breaks and days off. You can change any of it later without touching the bookings already in the calendar.
Receive and manage bookings
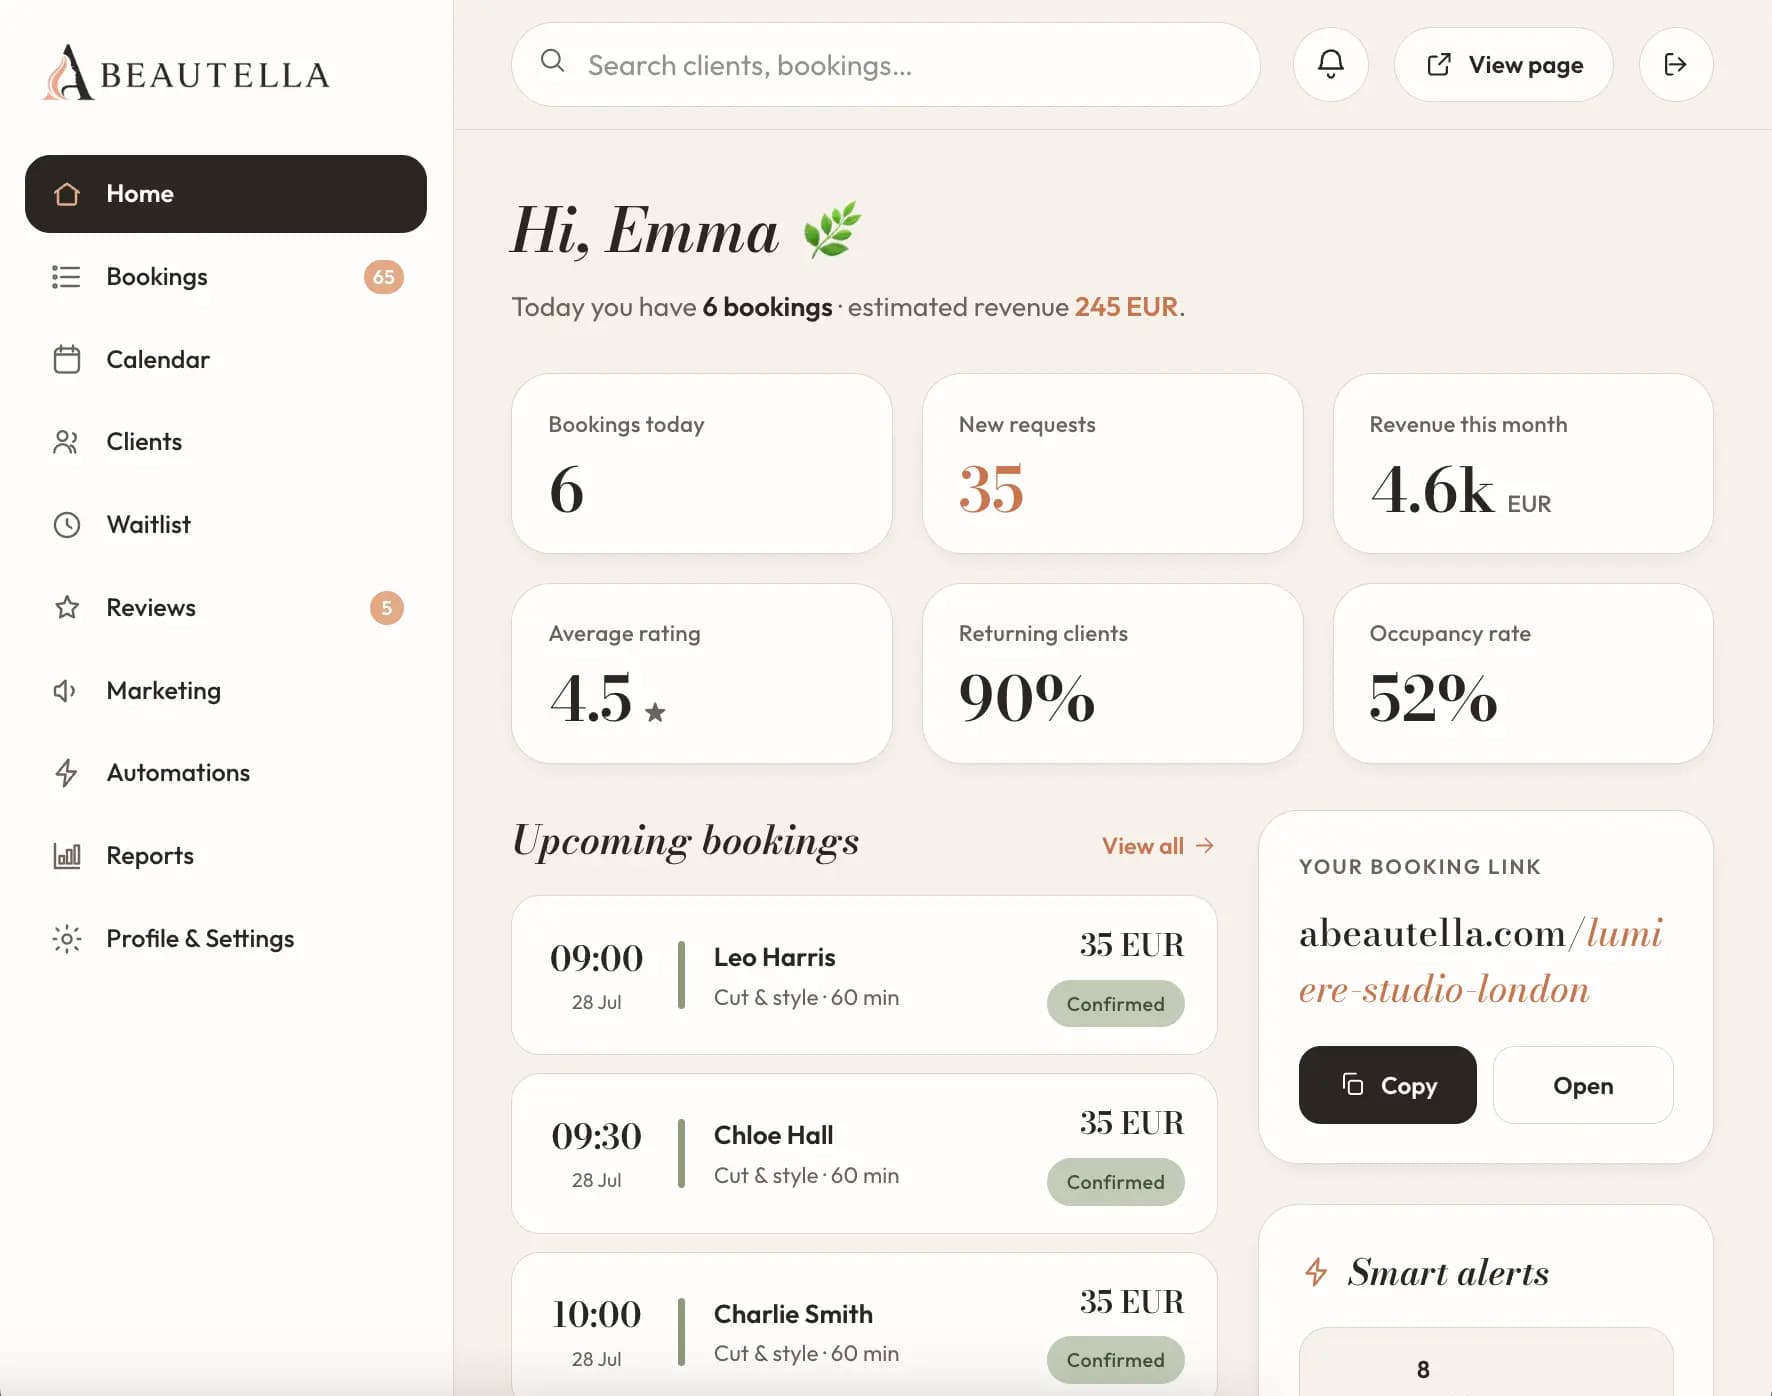
Clients book themselves through your link, and appointments land straight in your calendar. You just confirm, the rest is automatic.
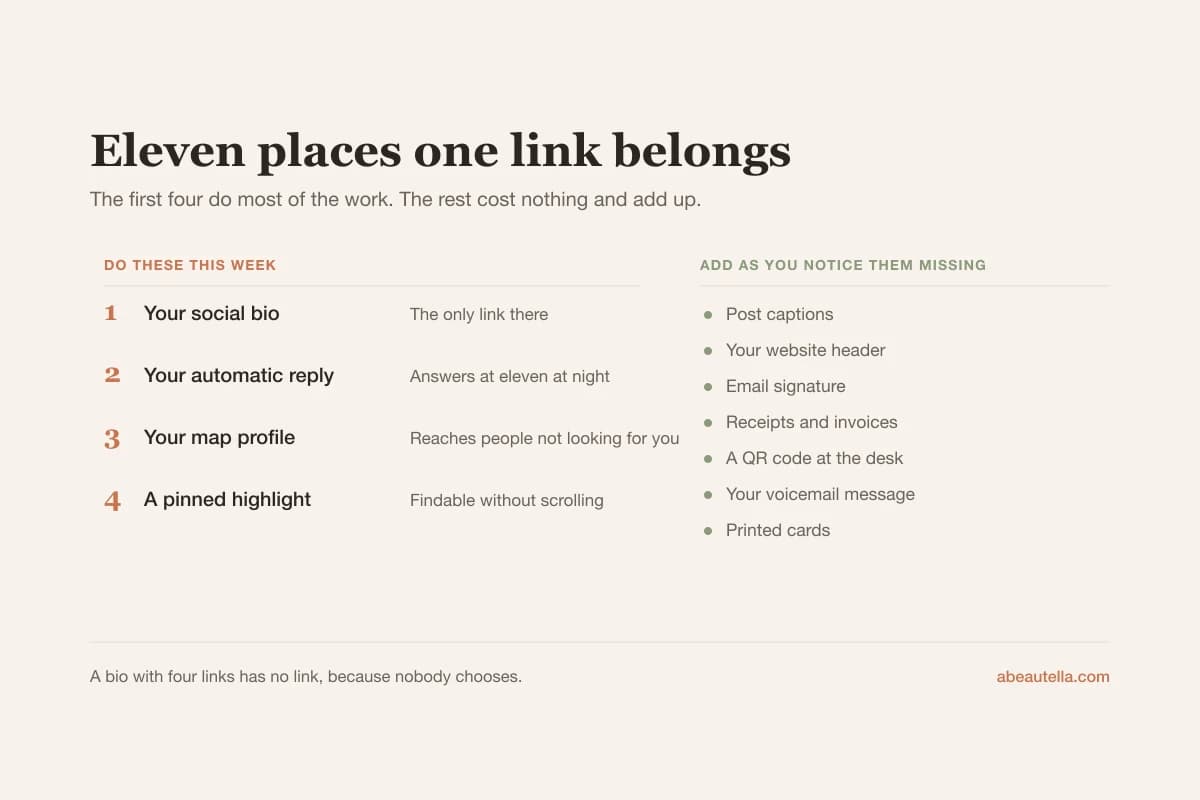
From here the work moves off your plate. You share your link once, in your Instagram bio, on WhatsApp or on your Google Maps profile, and clients pick a service and a free slot themselves. The booking arrives as a notification, the client gets a confirmation immediately and a reminder before the appointment, and the slot disappears from what everyone else can see. Your part is to show up.
What you need to have ready
None of it is mandatory to sign up, but having it at hand turns the setup into one sitting instead of three.
Your list of services
Names, roughly how long each one takes, and the price. Durations matter more than they sound: they are what keeps two appointments off the same hour.
Your working hours
The days and hours you actually take clients, plus your regular breaks. You can adjust exceptions and days off at any point afterwards.
A few photos
A profile photo and a handful of work shots. The public page looks finished without them, but a portfolio is what convinces someone who has never been to you.
Where the link will live
Your Instagram or TikTok bio, a WhatsApp status, a Google Maps profile. Decide this before you finish, because the link is what actually brings the first booking.
What the system does for you
Once you're set up, the repetitive work happens on its own. Here's exactly how each process works, step by step.
Fewer no-shows
Waitlist
Automatic win-back
Automatic reviews
A record for every client
The same account, synced everywhere
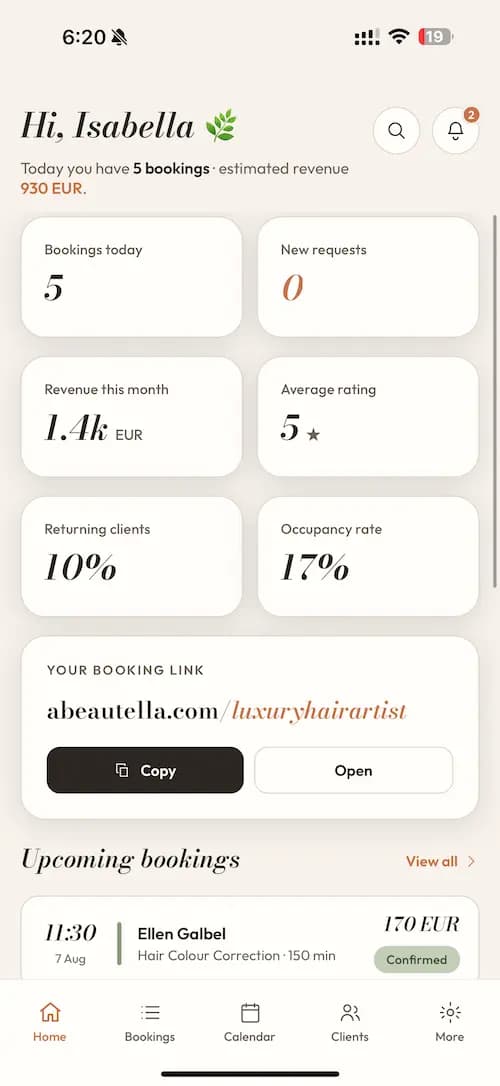
Work from your computer at the salon and check appointments on your phone, wherever you are. Every change appears instantly on both.
- ✓Sign in once, access it from any device
- ✓Phone notifications for every new booking
- ✓No double-bookings, nothing lost, everything in one place
What people ask before they set up
Straight answers about running a salon
Honest comparisons and practical guides, written for people who do the work.